
Once you have selected an account from the classes screen, you can start selecting the items that you wish to purchase. The order the menus are shown in is dependant on the order in which the menus were created in Fusion Smart board layouts, with the first menu created being shown at the bottom of the screen.
User Grid
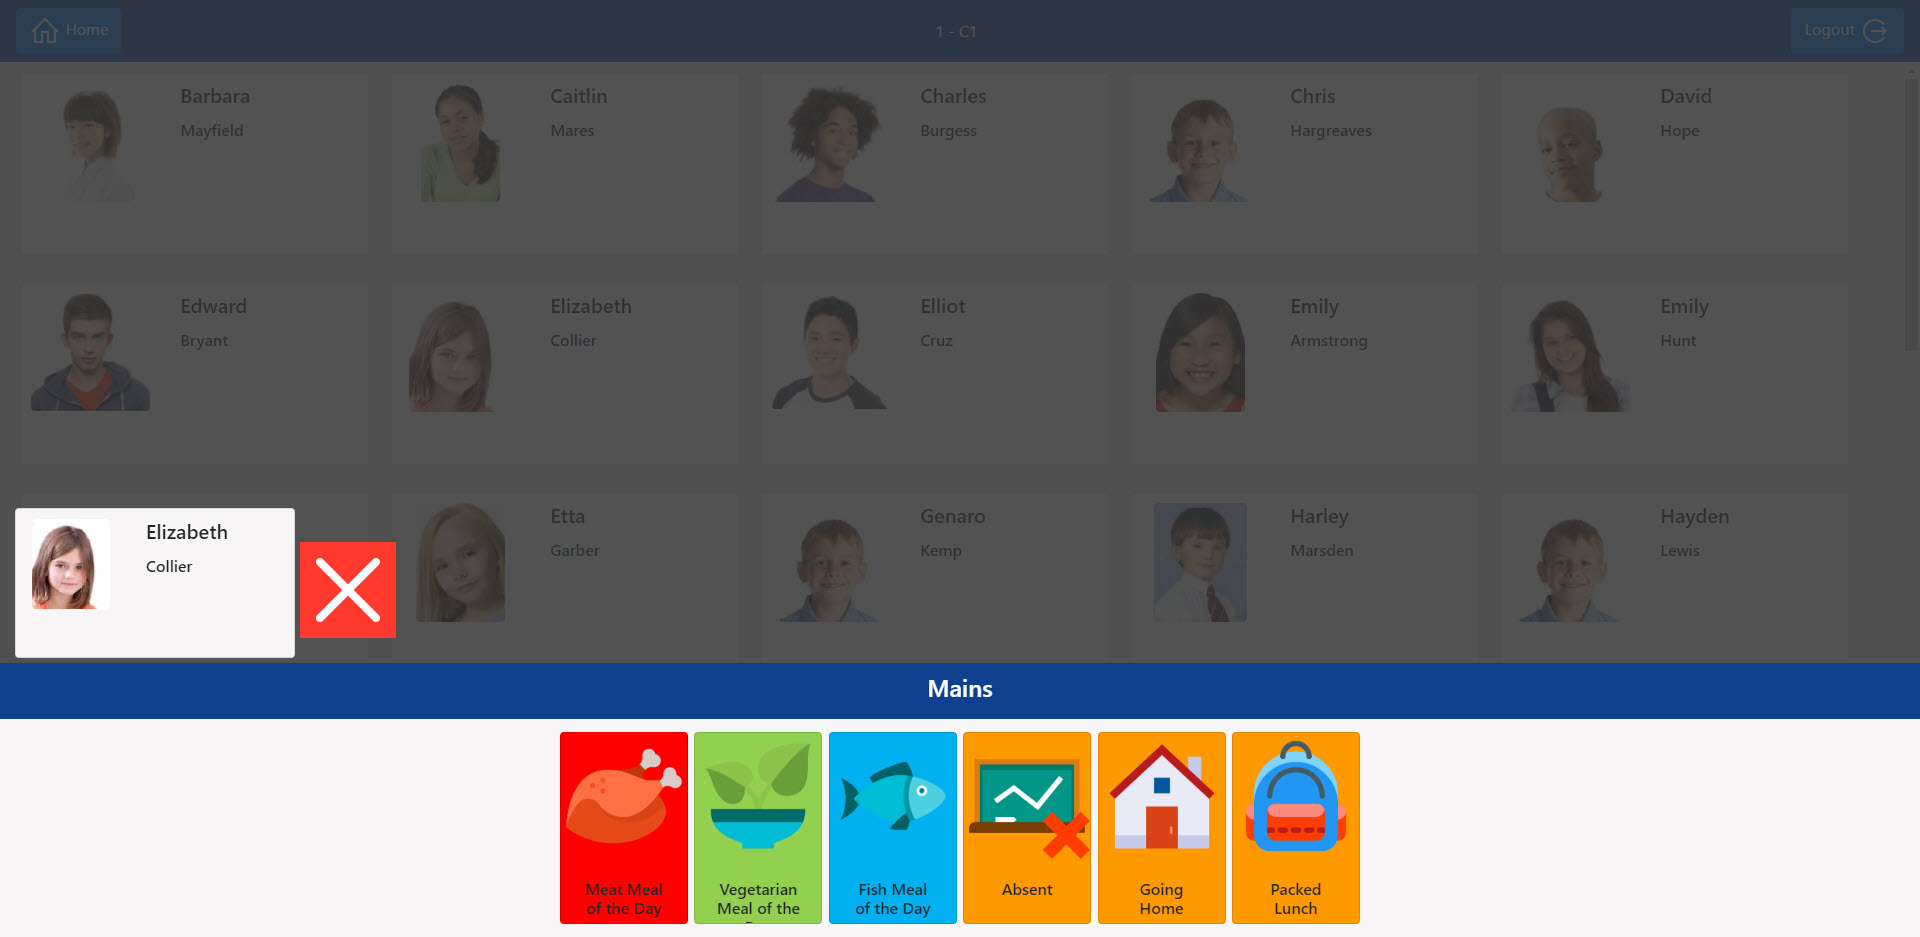
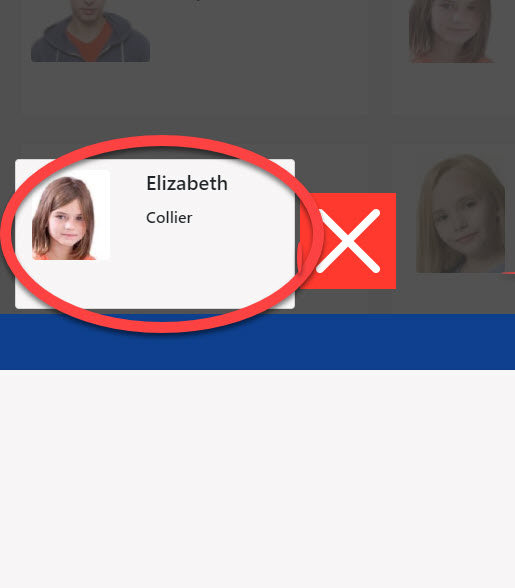
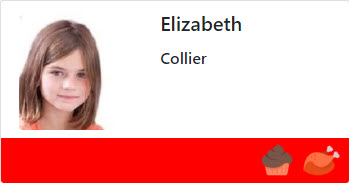
The Users name will be shown on the left of the screen and the user grid will dim to indicate that you are in a transaction.
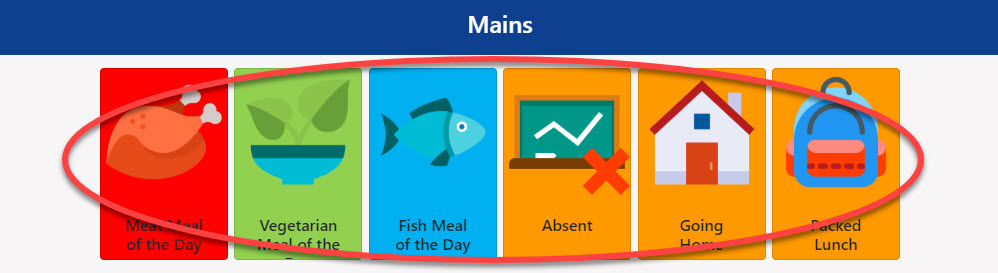
The name of the menu will be displayed in the blue title bar above the items grid.
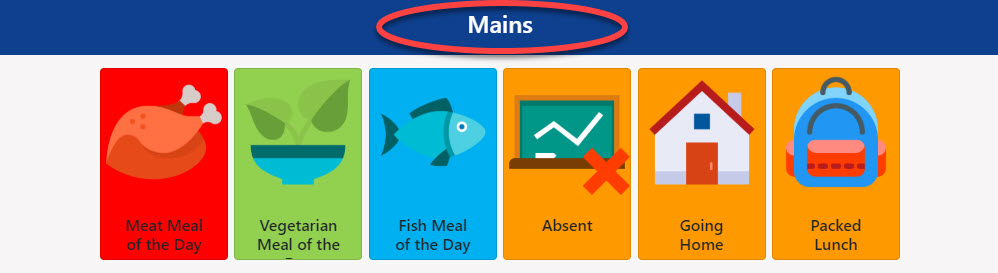
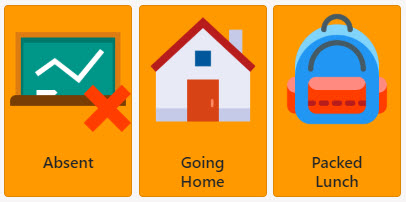
On the first menu there will also be 3 additional items available as a default to indicate whether the user is Absent, Going Home for lunch or having a Packed Lunch.
Selecting your Items
To make a selection choose an item from the grid. Once the item has been selected, depending on how many menus have been created, it will move on to the next menu and item selection grid.
The next menu has been setup with a minimum requirement of 0 which will allow the user to either select an item or skip the selection entirely. There will also be an option to go back to the previous menu to change the selection if you wish.

When the last item has been selected the user’s selected items will be displayed on their tile, and depending on the colour of the item, will also set the colour along with image at the bottom of the tile.
Post your comment on this topic.