
As mentioned in the previous section, the dashboard is unique to each user. This means that you can customise it to how you like. For example, if you want a certain tile to be more prominent, make it bigger and change its colour. Any changes that you make will only affect your dashboard so nobody else is affected.
Changing tile location
- Single left-click and hold the required tile.
- Drag the tile to its new location.
- Let go of the mouse to confirm.
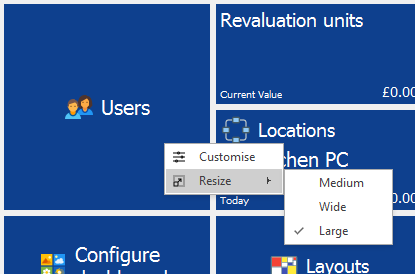
Resizing a tile
- Right-click on the desired tile.
- Hover your cursor over the Resize option and then select the required size.
![]()
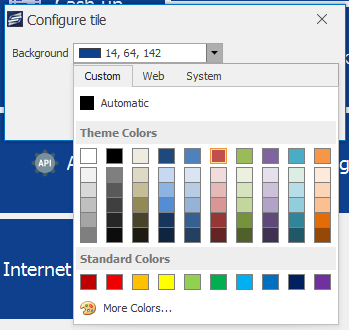
Changing the colour of a tile
- Right-click on the desired tile.
- Select Customise.
- Change the colour of the tiles background by using the colour selector.
![]()
- Press OK to confirm.
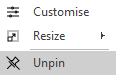
Removing a tile
- Right-click on the desired tile.
- Select Unpin.
![]()
Adding new tiles
New tiles can be added in two different ways. The first method is by Using the PIN button that appears when viewing a particular screen. For example, pressing the PIN button on the Users Screen will PIN a new Users tile to the dashboard.

The second method is by using the Configure Dashboards feature.
Customise Groups
You can arrange your tiles on the dashboard into groups by dragging a tile to a new column on the dashboard. This will create a new group. In the example below the groups are circled in red.
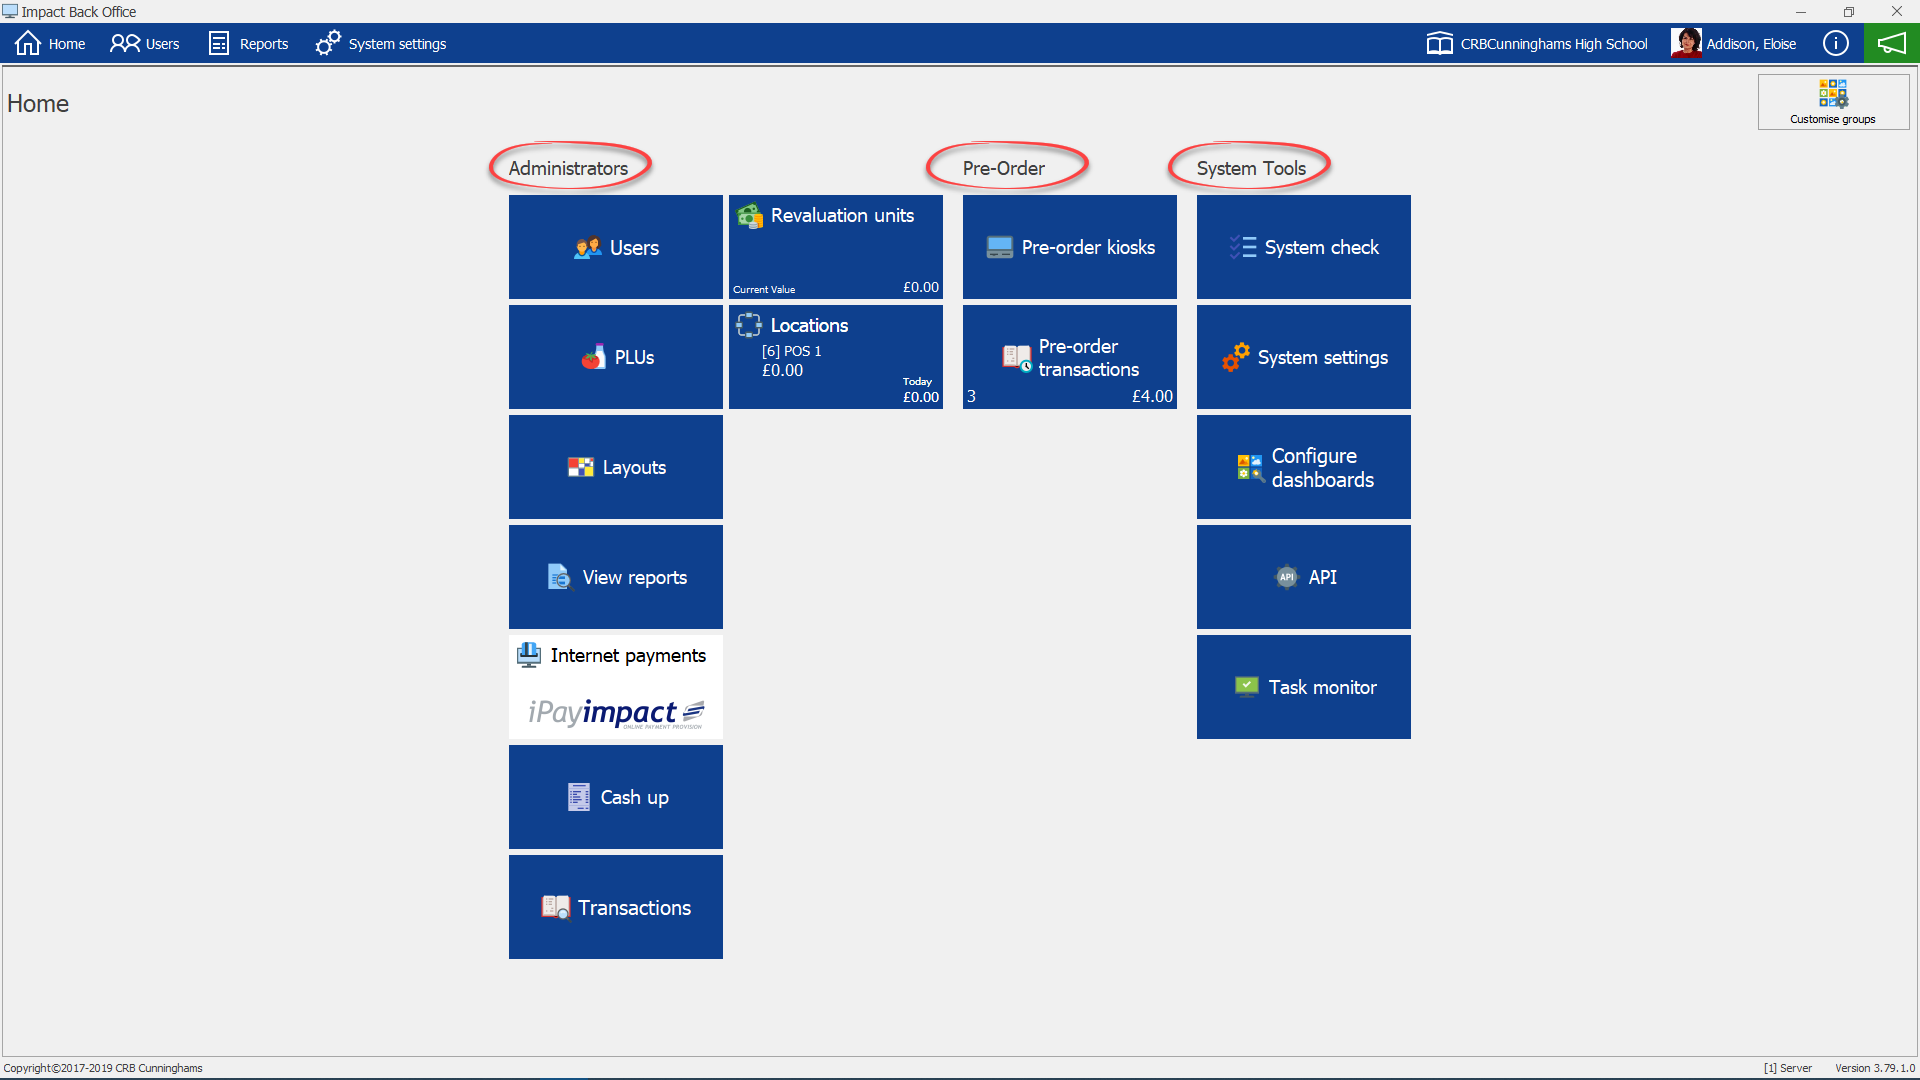
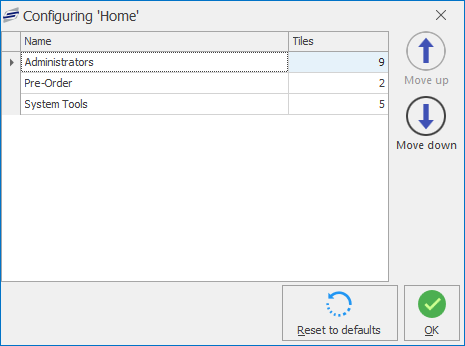
To Edit the names of these groups press the “Customise Groups” button located at the top right of the dashboard.

The configure box allows you to name your groups and move them up (left) or down (right) on the dashboard.
Post your comment on this topic.