
![]() A Pre-order layout will normally consist of multiple menus with lead through items within them. The most common period would be lunch and a typical menu would be a grab and go bag consisting of a main item like a sandwich, a snack like a flapjack, and a drink like a bottle of water. Once a transaction has been made for a pre-order the customer will receive a receipt to claim the purchase from a collection point. The kitchen will have a specific time that they will usually print off the pre-order receipts to begin building the transactions in time for pick-up.
A Pre-order layout will normally consist of multiple menus with lead through items within them. The most common period would be lunch and a typical menu would be a grab and go bag consisting of a main item like a sandwich, a snack like a flapjack, and a drink like a bottle of water. Once a transaction has been made for a pre-order the customer will receive a receipt to claim the purchase from a collection point. The kitchen will have a specific time that they will usually print off the pre-order receipts to begin building the transactions in time for pick-up.
The first step to creating your pre-order layout will be to add a menu and link PLUs to that menu.
- Select the Period you wish to create a layout for from the period grid.
![]()
- Press the Layout button.
![]()
- This will display the Pre-order layout screen.
![]()


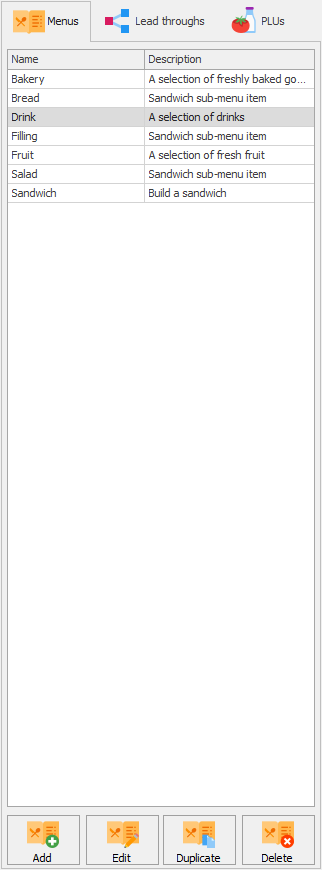
Pre-order Management Section
In this section you can manage the pre-order functions. Adding, Editing, Duplicating and Deleting Menus, Lead throughs and PLUs.
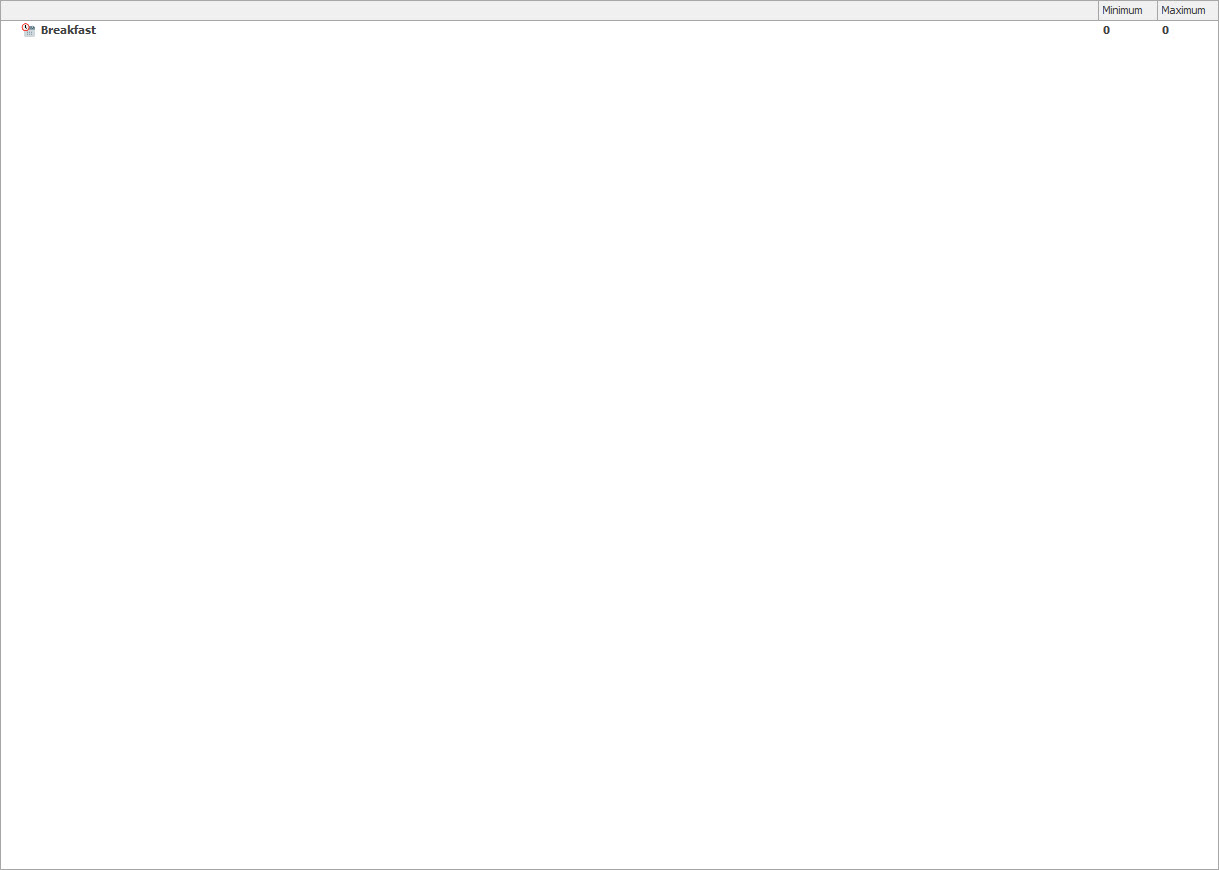
Pre-order Layout Section
The Pre-order layout section is where you can create and manage menus and PLUs that are available for pre-ordering. By dragging menus and PLUs in the layout section you can easily organise the look of the pre-order layout.
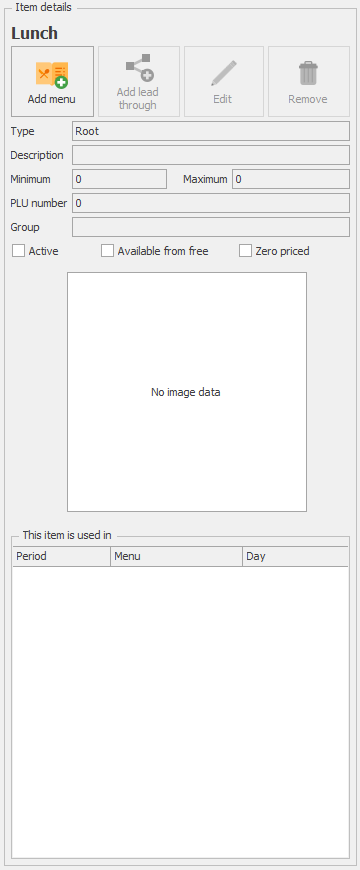
Period, Menu & Item Management Section
In this section you can manage the menu items that have been selected on the pre-order layout and add new menus and items to the layout. You can also view an overview of what has been selected.
Post your comment on this topic.