
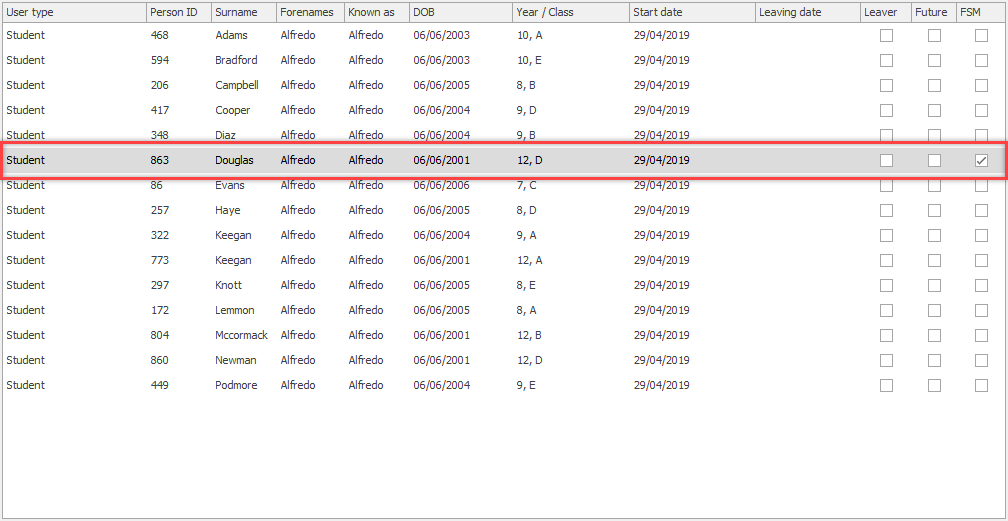
 Before we can perform any action on a user, we must first find and select their account. Above the user grid, you will find the find and filter options.

Finding an account by name
To find a user by name, simply type either their first or last name into the Name field. As you type, the users in the users grid will reduce until you are only left with the users whose first or last name is what you have typed. Now select the user from the grid. Their name will be highlighted and their details will be shown on the right-hand side.
Changing the filters
By default, the users grid displays all current users regardless of their user type or allowance status. We can alter this by adjusting the filter options using the drop-down menus. The three filters are:
- Status:
- Current only: This is the default option. The user grid will only display users who are currently attending the school.
- All: Displays all users regardless of their status
- Left / Future: This option displays any users who have left school or who are on the system but have not yet started (e.g. new year 7’s in June/July)
- Allowance:
- All: This is the default option. The user grid will display all users regardless of their allowance status.
- Frees: This option displays all of the users who are entitled to a free school meal.
- Supervisor: This option displays all of the users who are entitled to a supervisor meal.
- User type:
- All: Default option. Displays all users regardless of their user type.
- Student/Staff/Admin etc.: Only displays users who are a member of that user type.
By choosing the options, Current only, Frees, and Student, the user grid will display all current students who are entitled to a free school meal.

Sorting the grid
Another thing that you can do to make finding a user easier is by sorting the grid by a column and order of your choosing. By default the user grid is sorted by the Surname column in ascending order (A > Z). You can change this by simply clicking on the header that you wish to sort by. For example to sort by first name, click on the Forename column header. The users will now be listed in ascending Forename order. Press the column again to switch to descending order (Z > A).
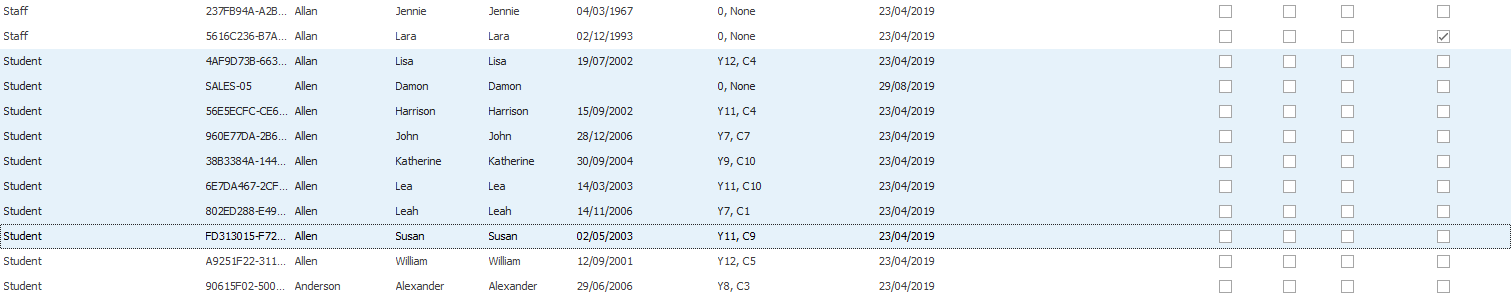
Selecting Multiple Users
Selecting specific accounts
- Select an account by left-clicking once on one. Then Hold the CTRL button on the keyboard and continue to select more accounts. The selected accounts will be highlighted in blue.
![]()

Selecting a group of accounts
- Select an account by left-clicking once on one. Then hold the SHIFT button on the keyboard and then select the last record of the group. This will highlight all selected accounts.
![]()
Post your comment on this topic.