
![]() A layout will normally consist of multiple menus. Menus are used to display similar items. In most schools, these are typically “Breakfast”, “Morning break”, and “Lunch”, meaning that all items sold at breakfast are on a single menu and so on, but they could also be used to display products by type such as “Hot food”, “Cold food”, “Snacks”, and “Drinks”.
A layout will normally consist of multiple menus. Menus are used to display similar items. In most schools, these are typically “Breakfast”, “Morning break”, and “Lunch”, meaning that all items sold at breakfast are on a single menu and so on, but they could also be used to display products by type such as “Hot food”, “Cold food”, “Snacks”, and “Drinks”.
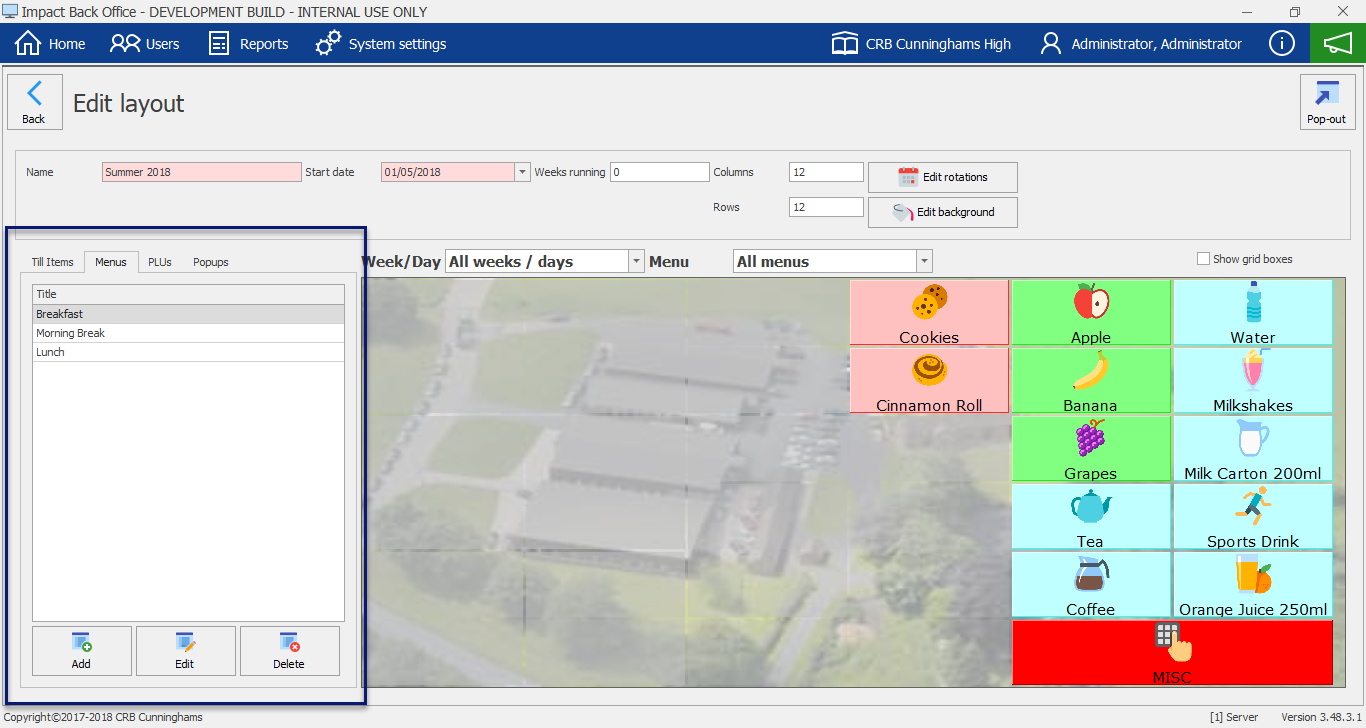
The menus section can be accessed by navigating to the ‘Menus’ tab on the left hand side of the layout designer screen.
Adding a new menu

- Click the Add button at the bottom of the Menus section.
![]()
- Enter a title for the menu, e.g. ‘Lunch’ or ‘Grab ‘n’ Go’.
- If this menu is only to be used with till pre-order (also known as ‘Snappy Snacks’), click the ‘Preorder Only’ check box, if not leave it un-ticked.
- If this menu will be available on all weeks of a menu cycle, leave the ‘All Weeks’ tick box selected, else deselect it and choose the weeks that the menu will be used.
- If this menu will be available on all days of a menu cycle, leave the ‘All Days’ tick box selected, else deselect it and choose the days that the menu will be used.
- Press Save to finish adding the new menu.

Editing an existing menu
- Select the menu to be edited and press the Edit button.
![]()
- Configure the menu as required. (See the section on adding a new menu for more information if needed).
- Press Save once complete.

Deleting a menu
- Select the menu to be deleted and press the Delete button.
![]()
- Press Yes to confirm and press OK to complete the process.

Last modified:
13 January 2021
Post your comment on this topic.