
![]() Meal time periods are used to set the times in which the system will be available for use. For example, lunch may run from 12:50 til 1:30, and a meal time period can be set to reflect this. Meal time periods are particularly useful for reporting, as they can be used to determine what was sold at certain times throughout the day.
Meal time periods are used to set the times in which the system will be available for use. For example, lunch may run from 12:50 til 1:30, and a meal time period can be set to reflect this. Meal time periods are particularly useful for reporting, as they can be used to determine what was sold at certain times throughout the day.
You can enter the Meal time periods setting by entering the system settings and pressing the Meal time period button.

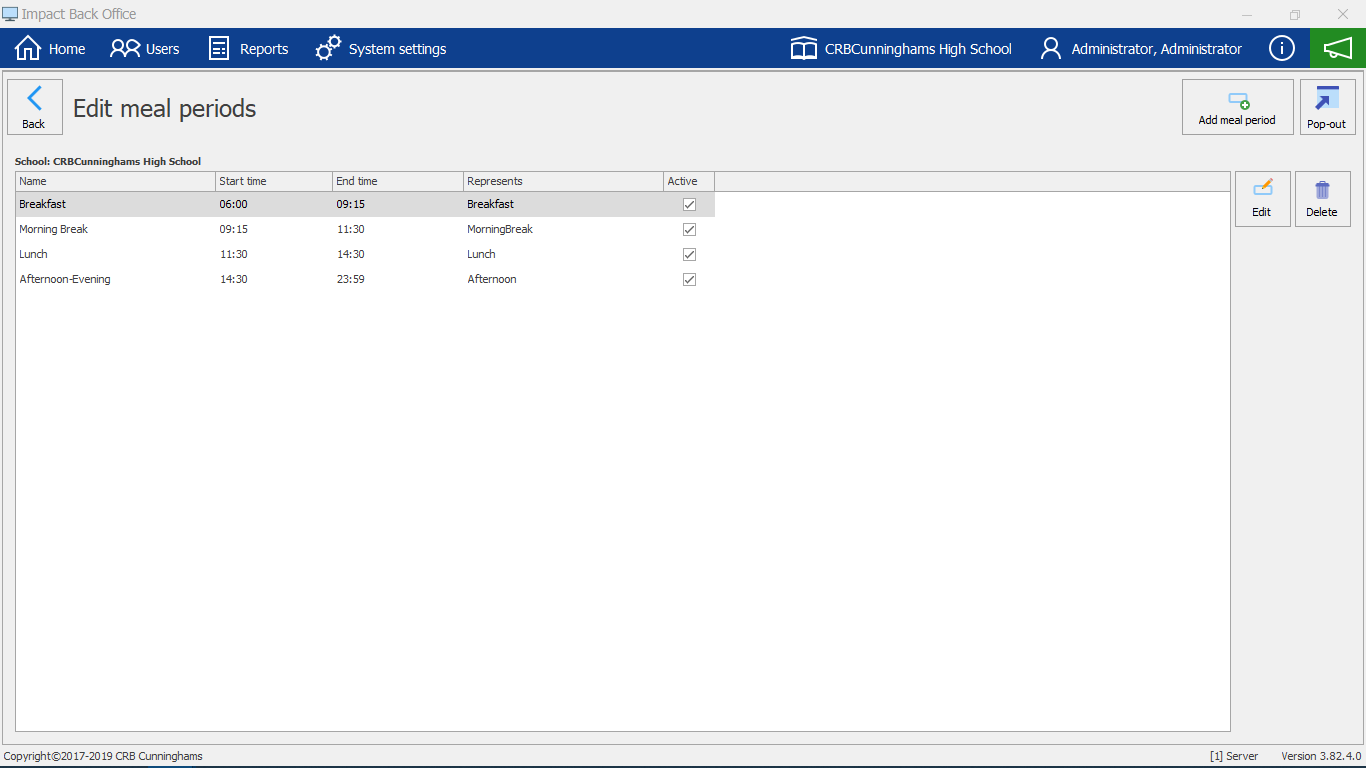
The grid will display default meal time periods and what start and end times they are valid.
Adding a new Meal time period
- Press the Add meal period button.
![]()
- Enter a Name for the meal period.
- Select a Start time and End time for the meal period.
- Select an option from the drop-down that Represents the meal period (i.e. Breakfast, Morning Break, Lunch, Afternoon or Unknown).
- Tick or untick whether you want to make the meal period Active.
![]()


Editing or Deleting a Meal period
You can edit an existing meal period by select a meal period from the grid and pressing the Edit button. You can amend anything within this section.

You can delete an existing meal period by select a meal period from the grid and pressing the Delete button.

Post your comment on this topic.