During installation, your engineering team will happily install the Fusion Back Office software on any PC that requires it.In the months/years after your initial installation, you may require the software to be installed on an additional PC, or you may have replaced a PC that previously had the Back Office software on it.
Installing the Back Office
- Run the ‘Impact Fusion Setup – Back Office.exe’ installation file.
- Press Next at the welcome screen.
- Change the destination folder where the files will be installed if required by pressing the Change.. button. Press Next.
- Press Next on the custom setup screen to install all components.
- Press Install.
- Press Finish when complete.
Configuring the Back Office
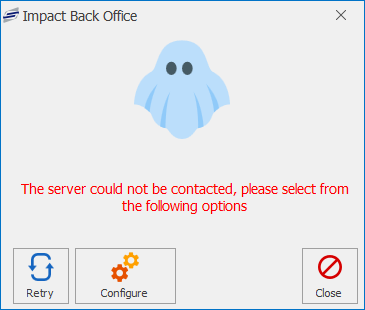
- Once installed, run the ‘Impact Office’ application. The application will alert you that the ‘server could not be contacted, please select from the following options’.
- Press Configure This will open a wizard to guide you through the configuration.
- Press Next at the first screen.
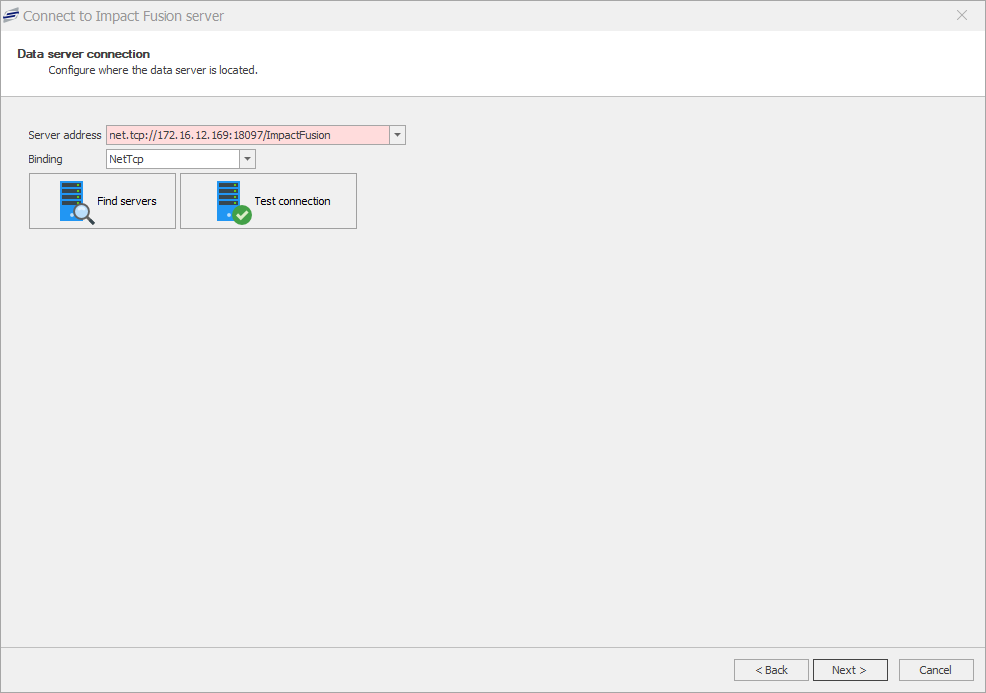
- After a few seconds, the server address field should display any data servers on the network. If no servers are found, try pressing Find servers to re-scan the network. Select your server from the drop-down list and press Test connection. If the connection is successful, the wizard will advance to the next screen.
- Enter the username and password of a login that has the ‘Edit locations’ permission and press Next.
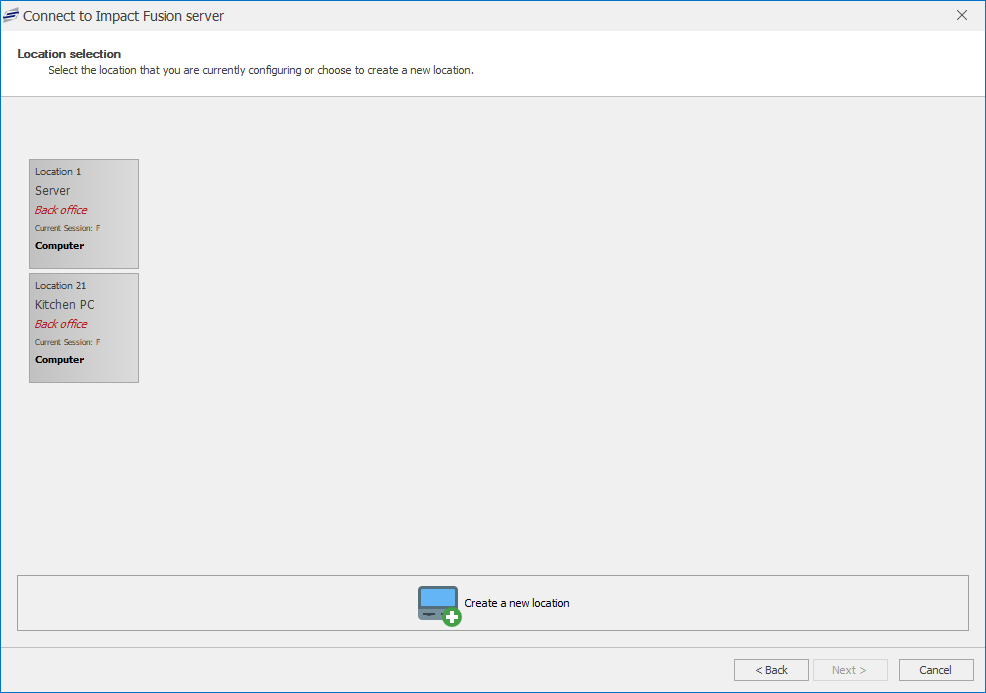
- At the location selection screen, if you are replacing a PC, choose the location that was being used by the old machine, then skip ahead to step 8. If you want to create a brand new location, press the Create a new location button at the bottom of the screen.
- Enter a name for the location and choose a super group if applicable.
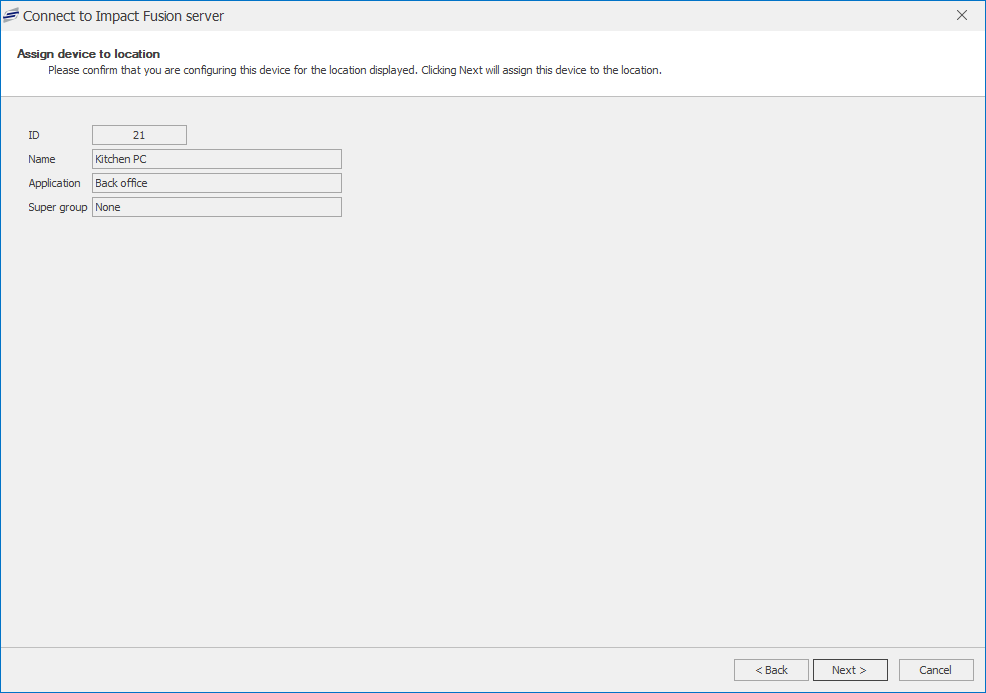
- At the ‘Assign device to location’ screen, press Next to assign this PC to the selected location.
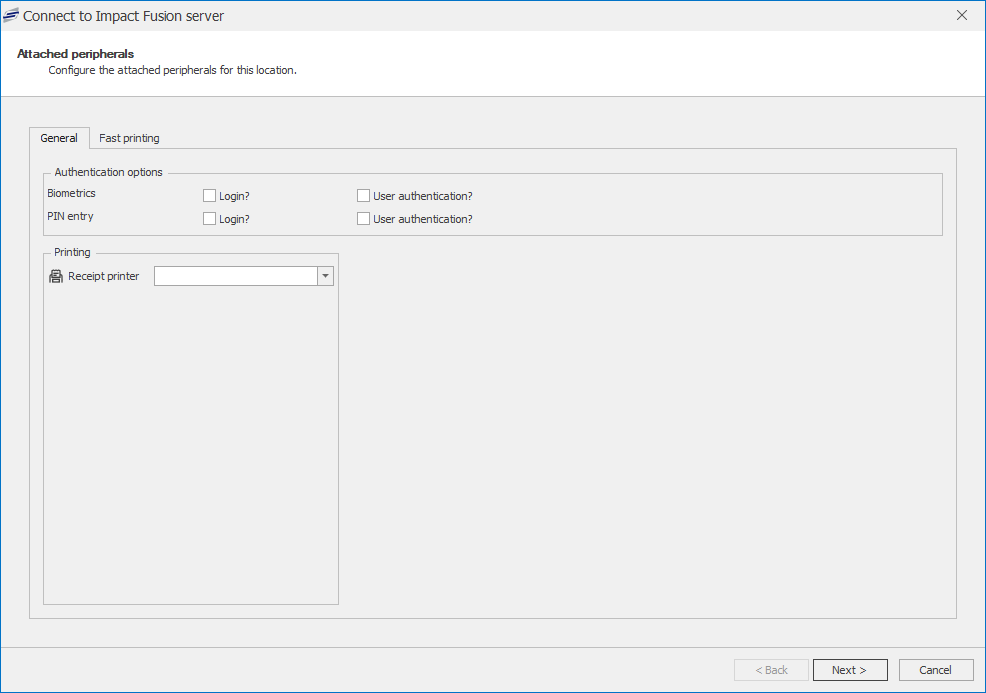
- Configure the device as required. As the typical method of logging into a Back Office is username and password, it is probably not required to change any authentication options. Press Next.
- Press Finish to complete the process.
- The application will re-start and you should now be presented with a login screen.
Last modified:
27 June 2019


Post your comment on this topic.